
Do you remember
this post about my messy purse? Well, I decided to do something about it and came up with a tutorial to make your own organizer.
The added benefit to organizing your "necessities" (aka "junk") is that it makes the transition to another purse in your collection easier if you're running out the door. Really, how many times have to gotten to the check out in Target only to realize your wallet is in your other purse? I like to think of this as my public service (ha!)
Okay, lets gather your suppies:
1/2 yard medium weight fabric
1/2 yard medium weight interfacing
sewing machine
scissors
yard stick
Pin your three layers together with the fabric's right sides together and the interfacing on top.

Sew this rectangle together, leaving a space of about 3 inches unsewn. Do you see the space between the zipper foot and the arrow? You will need this opening to turn your sleeve of fabric right side out.

Reach into the opening and grab the other end of the rectangle and pull the sleeve right side out.

Now you will need to press the rectangle of fabric (**
side note: this iron shown came into the relationship with my husband...we've been together almost 13 years!)
Now, fold in the edges of the opening and press. Topstitch it closed and continue stitching around all of the edges.

Fold the bottom edge up about 3 1/2 inches and press again.
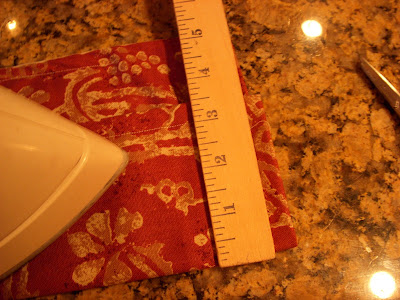
Sew the edges of the new fold to hold it in place.

Lay the items from your purse onto the strip to determine the width of the pockets and mark.

Sew the pockets at the marked intervals

Here you can see the organizer spread out and filled.

Fold the organizer in thirds and it will easily fit into your purse!

I made my organizer from scrap fabric I had around the house, but we made these at our last girl's coffee and I was able to make 4 organizers out of 1 yard of fabric and one yard of interfacing. So, working out to about $2 apiece, it's an affordable surprise.


